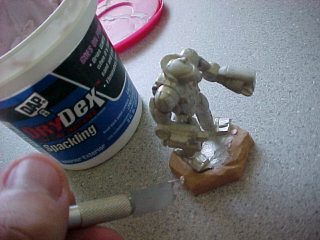
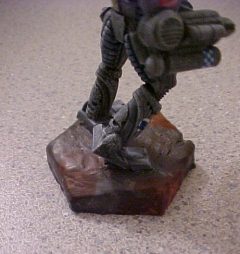
If you've made it this far, you're pretty much home free. The rest is easy. Glue the mini into place using your favorite glue (I like 5-minute epoxy). There will likely be a small crack between the mini and the base, so fill it with spackle.
Once the spackle dries, you can brush a ceramic sealer over the clay if you like (this is optional). After that, primer the mech and base, and paint the mech. Come back after the mech is all painted.
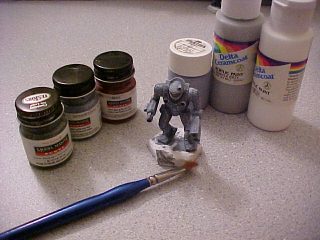
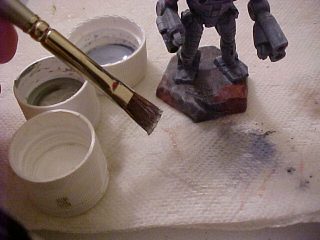
Ok, so now your mech is all painted and you're ready to paint the base. The picture below shows the paints I grabbed for this one. You need several dark base colors (I chose Testors Model Master Acryl Intermediate Blue, Gunship Gray, and Rust) and several light drybrush colors (Ral Partha Arctic Gray, and Delta Ceramcoat Quaker Gray and White).
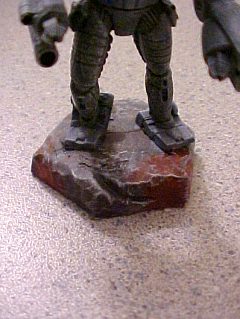
For the base colors, paint all 3 of them on at the same time by making blotches of each. Don't try to make the blotches uniform or have straight lines... they need to look random. Let the paints bleed together at the edges. Allow some mixing and certainly some overlap. The only thing you need to be careful of it getting too much paint on there.
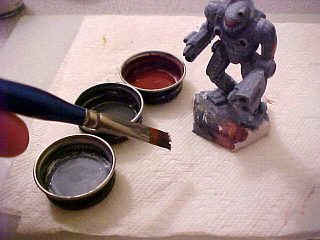
Make sure to let it dry thoroughly at this point, especially if you went heavy with the paint. Now get ready to drybrush. Again, do all three colors at the same time, and don't be afraid to let them mix. Avoid drybrushing the entire base in the same color. I put more Quaker Gray up front and more Arctic Gray in the back, with a light dusting of White here and there.
After that dries, glue some flocking on the base (if desired).
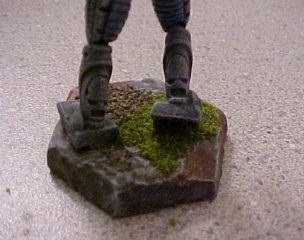
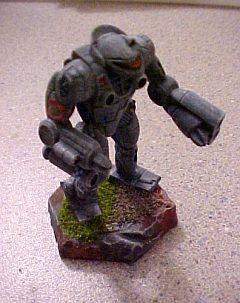
Finally, apply some overcoat (matte varnish) and let that dry. Then you're all done.