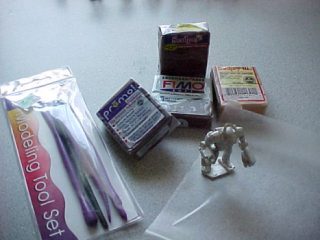
This is a walkthrough of how to make your own rock-like hex bases. Everything you need is shown in the first picture below. That includes clay working tools (cost about $4, or you can use table silverware instead), wax paper (optional), the miniature you're making the base for, and clay. At your local craft store, you can get a small brick of oven-bake polymer clay for about $3, and it'll make 5-6 bases. I recommend FIMO or Sculpey III (Sculpey I is a lot cheaper, but doesn't get as hard). It doesn't matter what color you get since you will need to paint it anyway. Don't spend any extra money on special faux rock colors.

Now, let's get to work. The wax paper prevents the clay from sticking to your work bench, and makes clean-up a lot easier. First, break off a decent-sized piece of clay. Don't worry if it's too big: we'll fix that in a minute.
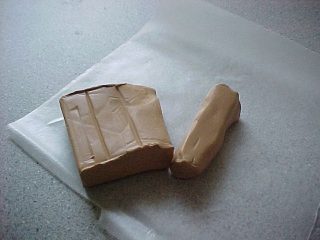
Roll the clay into a ball, then flatten it out with your fingers until it makes a disk. I usually try to make it slightly thicker than a standard hex base at this point. Some people make it about 2-3 times as thick as a standard base. Push the base of your mini into the disk to make an indentation. After this point, try not to pick up the base until you're ready to cook it.
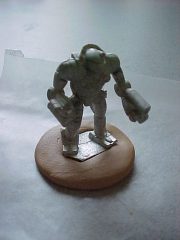
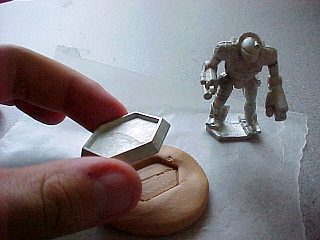
Next, gently set a standard hex base over the indentation, being careful to align one of the faces with the front of your mini. Making sure not to press down on the hex base, use it as a template to trim away the excess clay.
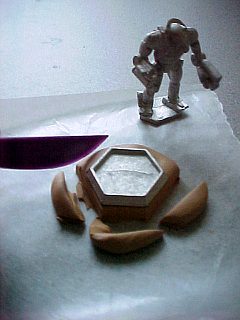
Now, remove the standard hex base. At this point, you can see roughly the size and shape of your clay base. If you don't like it, this is a good point to start over. If it looks good, add some detail. I start with a couple "cracks" made by making shallow cuts in the clay. You can add a rocky texture by making lots of gentle indentations with a blunt tool.
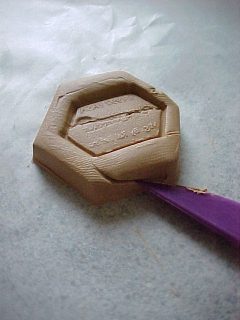
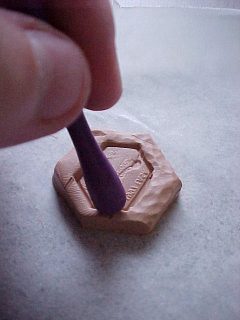
Sometimes I'll also make a smooth "shear surface" by cutting a corner off the base.
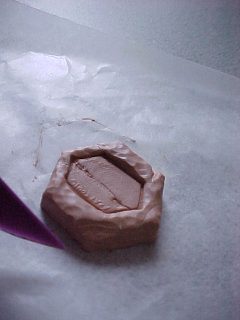
Now, with all this tooling you may have deformed the indentation for your mech. Gently work it back into its slot to make sure the indentation still fits.
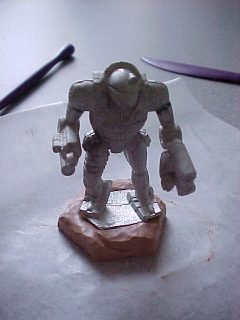
Next, follow the instructions on the wrapper (hope you didn't throw it away!) for baking. It's usually something like 260F for 20 minutes. You'll want to take the base off the wax paper and put it on a cookie sheet. To prevent sticking, I usually put it on a piece of aluminum foil.
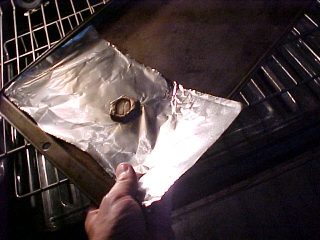
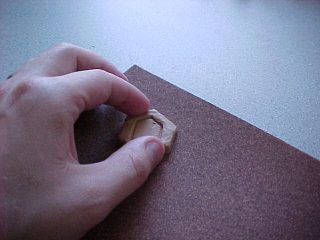
After letting the base cool for an hour or two, sand the backside of the hex base. It may not be perfectly flat, especially if you had a hard time getting it off the wax paper. Sand paper will fix this.
