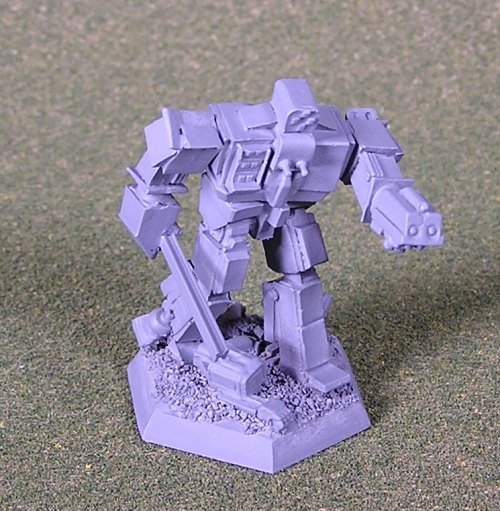
Next, I glued all of the pieces together and primed the mini with gray Krylon spray. I use different colors of primer depending on the scheme, but I have found that Krylon works best and is pretty darn cheap.

If you plan to handle a mini a lot while you are working on the paintjob (say, if you're going to take a bunch of pictures and make a tutorial), sometimes it is good to temporarily attach it to the lid of an old paint bottle. I attached my Matador with 2 drops of superglue (so it can be easily removed).
I use a lot of different brands of paint, depending on the color or consistency I want. For the technique I wanted to use on the large areas of the Matador, the creamy consistency of Delta Ceramcoat was ideal. I painted the entire mini with a base of Delta's Dolphin Gray, and drybrushed it heavily with Chambray Blue (which is actually a light gray). The picture on the left below shows the mini after this stage, where the raised areas appear much brighter. Next, I brushed on my camo patches with Dark Foliage Green.
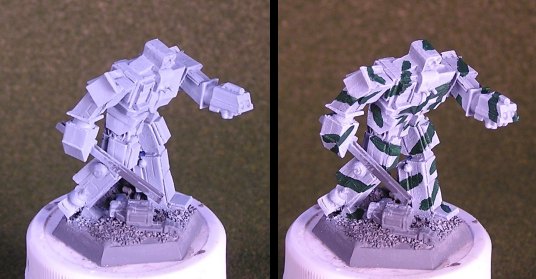
I drybrushed the green areas lightly with Forest Green to add a little depth. After allowing plenty of drying time, I applied a moderately heavy "black wash." The technique works as follows:
- fill a thimble full of water
- add 3-4 drops of Future Floor Wax (breaks the surface tension)
- open a bottle of black ink (ink is thinner than paint, and I used Citadel's "Black Ink")
- dip a relatively big brush (I use a #6 round) into the water/wax mix, dip the corner of the brush into the ink, and apply generously to the mini.
The ink will find its way into the cracks and low-lying areas, bringing out the details of the mini. The more ink you use, the more "dirty" the mini will look overall. Once the whole mini is wet, use a smaller brush to sop up excess ink. If the appearance is too dark, dilute it by adding more water/wax to the mini with the small brush.
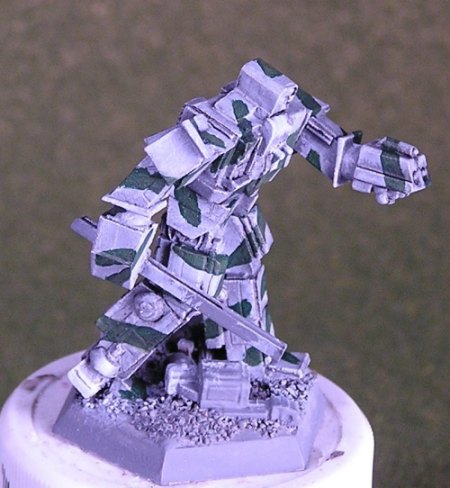
At this point, let the mini dry thoroughly. I usually let it go overnight after a wash. In the morning, I decided the wash had toned down my highlights too much, so I touched up the mini with a little light drybrushing of the camo colors (Chambray Blue again, and this time Seminole Green).
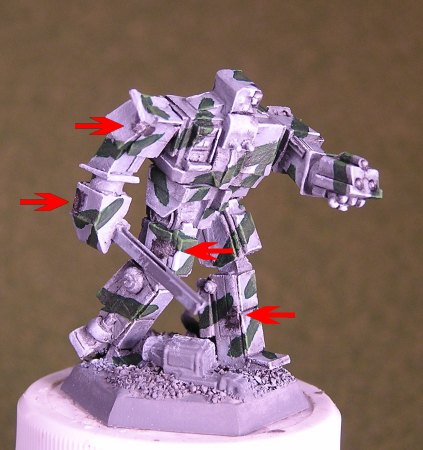
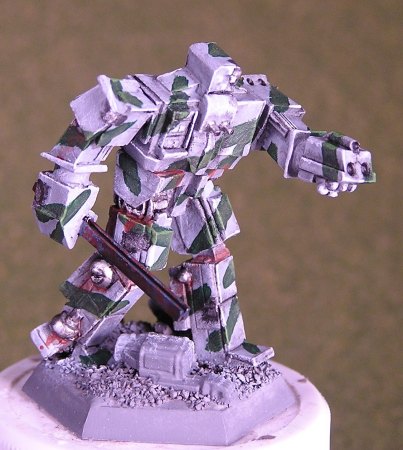
Now that we have a dirty camouflaged 'Mech, it's time to add a little battle damage. The easiest way to do this is to add superficial blast marks where lasers have damaged the paint. The technique is to get a little bit of black paint on the brush and then dry most of it off on a paper towel (similar to drybrushing), then stab it a few times on each spot you want "damaged". Then, repeat with a steel-colored paint in the center of each black mark you made. Don't overdo it with the spots: if you make them too big or make too many, it'll really ruin the look. The red arrows indicate where I made some blast marks on this mini.
Now, it's time to start on the detailing. I painted the joints and heat sink array on the back in Citadel's Bolt Gun Metal and the I-beam with Reaper's Blue Steel (while trying to figure out how to work a Zoolander reference into my write-up). Then I applied a heavy black wash to the metallic areas. Once the wash was dry, I highlighted the silver parts with Bolt Gun again and a little bit of Citadel's Chain Mail, which is a brighter silver. I didn't highlight the I-beam at all at this point (more on that later).
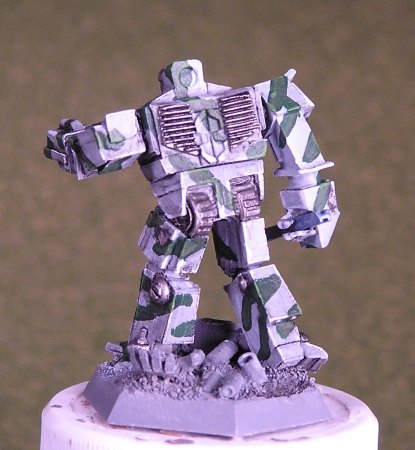
To make this junkyard 'Mech look really worn, I added some rust on the exposed metal. I used Testors Model Master Rust, and applied it with the water/wax mix I described earlier using a 000 brush. I only put the rust on the lower parts of the joints and painted it running downward to simulate the way rust stains flow from rain. I dabbed a bunch of the rust all up and down the I-beam. While this was drying, I painted the weapon openings on the left arm black.
Page 1: Getting Started | Page 2: Painting | Page 3: Finishing