Page 1: Starting  |  Page 2: Painting  |  Page 3: Finishing


Dave Fanjoy's Painting Example

PART 3. Detailing the mini

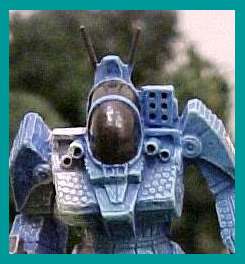
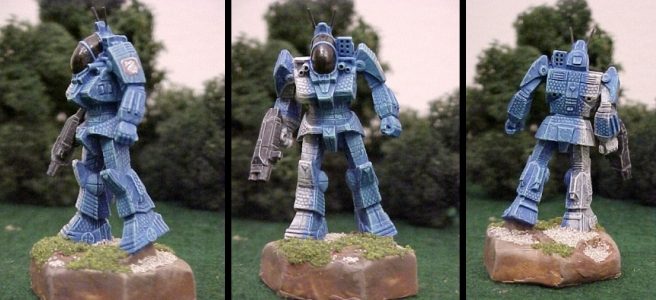
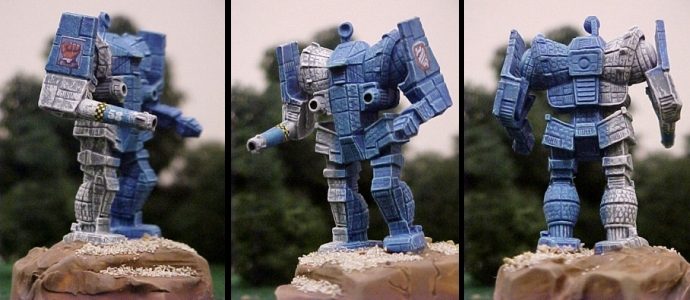
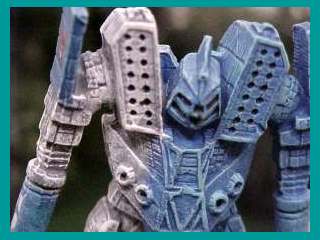
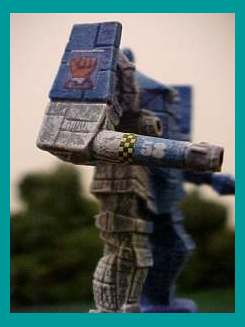
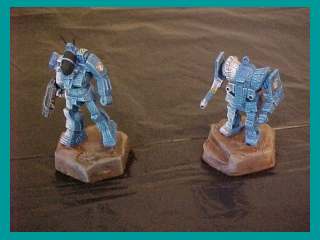
Once the main paint job is done, you can add fine details like numbers and unit markings. I often use decals for these features. Here, I've added the House Steiner Gauntlet and the Lyran Guards logo to each mech, as well as some numbers and checkers.


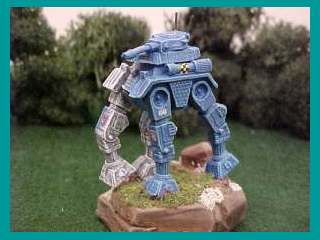
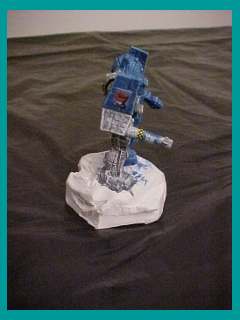
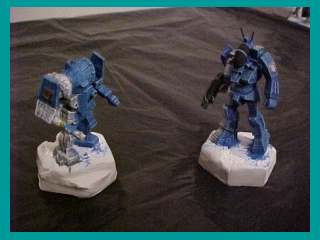
Once the mini is done, it's time for the hex base. I've painted them with a variety of brown colors, and drybrushed some lighter tan over the edges to give a realistic "ground" feel.

PART 4. Finishing up

Now, you need to seal your minis to protect the paint. I usually use Citadel Matte varnish, but Armory and Testors both make good dull coat sprays. Always use a spray. Always use matte.

Also, you can add some rocks and gravel to the hex base with white glue if desired. If you do, spray more sealer over this ground cover after it dries.

Finally, you can add more life to cockpits by brushing some gloss varnish or fingernail polish on them.

PART 5. The final product

The final products of this example can be seen in better detail below. Thanks for checking out my example. Try it out and let me know what you think.


Here are some examples of other mechs (Goliath and Mauler) done in this paint scheme.

Page 1: Starting  |  Page 2: Painting  |  Page 3: Finishing